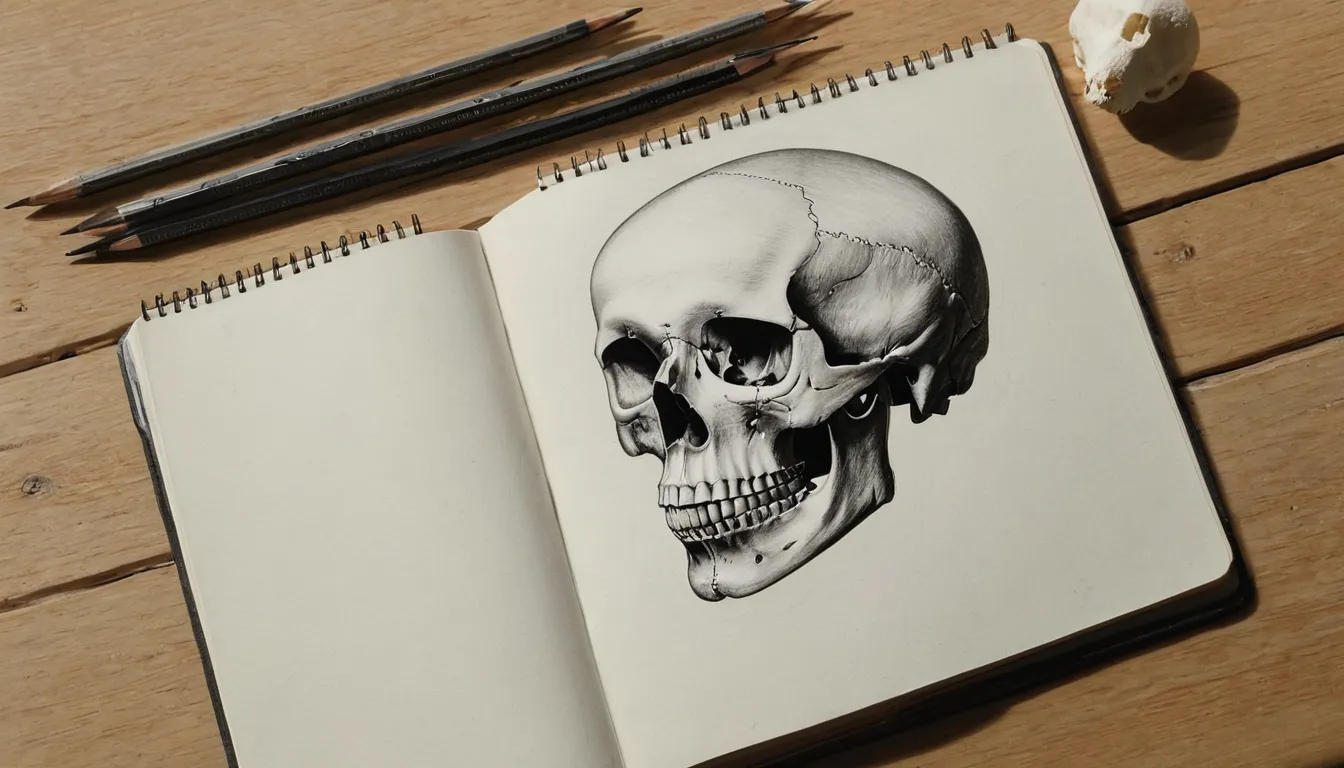
What you need
Any pencil and paper will do. A softer pencil, such as a 2B, makes darker lines and is easier to shade with. Keep an eraser nearby for the guidelines, and draw lightly at first so you can fix mistakes. A reference helps a lot: a replica skull, a museum photo or an anatomy book lets you check shapes as you go.
The eight steps
Each panel shows the drawing so far. Earlier lines are in grey, and the line you add in that step is in orange.
Step 1Circle for the craniumDraw a circle that fills the top two thirds of the space. This is the dome of the skull, so keep it loose. Step 2Center and eye linesAdd a vertical center line, then a horizontal line a little below the middle of the circle. The eye sockets sit on it. Step 3Face and jaw shapeBring two lines down from the sides of the circle, narrow them at the cheeks and round them off into a jaw. Step 4Eye socketsPlace two rounded sockets on the eye line, one on each side of the center. Leave about one socket width between them. Step 5Nasal openingBelow the sockets, on the center line, draw an upside-down heart shape that ends near the lower guide. Step 6Cheekbones and templesCurve a short line under each socket for the cheekbones, and add a soft dip at each temple. Step 7TeethDraw two gentle curves for the upper and lower rows, then split them with short vertical lines. Keep the teeth simple. Step 8Shade the hollowsFill the sockets and the nasal opening with dark tone, erase the guides, and the skull reads at once.
Getting the proportions right
Most beginner skulls look off for the same few reasons, and all of them come down to proportion:
- The cranium is bigger than you think. On a real skull, the dome takes up much more space than the face. If your skull looks like a cartoon, try enlarging the circle.
- The eye sockets sit low. They are roughly in the middle of the skull's height, a little below where many people place them.
- The sockets are wide apart. There is about one socket width of bone between them, with the top of the nasal opening below that gap.
- The jaw is narrower than the cheekbones. The face tapers from the cheekbones down to the chin.
A little anatomy helps
You do not need medical knowledge to draw a skull, but a few names make reference material easier to follow. The cranium is the rounded case that holds the brain. The orbits are the eye sockets. The zygomatic bones are the cheekbones, and they connect back toward the ears as the zygomatic arch. The maxilla holds the upper teeth, and the mandible, or lower jaw, is the only bone in the skull that moves, apart from the tiny bones of the ear.
An adult usually has 32 teeth when the wisdom teeth are counted, but you do not need to draw them all. A row of simple blocks reads as teeth at any size.
Shading for depth
Pick one direction for the light, such as the upper left. The sockets, the nasal opening and the hollows of the temples fall into shadow, and the forehead and cheekbones catch the light. Build shadows slowly with light hatching, then go darker in the deepest parts. Leave the brightest areas as clean paper. A smudge of shadow under the cheekbones and along one side of the jaw makes the skull look solid.
Common mistakes
- Pressing too hard early. Dark guidelines are hard to erase. Draw light and darken only the final lines.
- Making the eye sockets perfect circles. Real orbits are squarish with rounded corners. A slightly angled shape looks more natural.
- Drawing every tooth in detail. Too much detail on the teeth pulls attention. Keep them simple and let shadow do the work.
- Forgetting the temples. Without the small inward curve at each side, the skull looks like a light bulb.
Where to go next
Once the front view feels easy, try a side view or a three-quarter view, or turn your skull into a stylized design. Our guide to stylized skulls covers line art, geometric, cartoon and ornamental approaches.